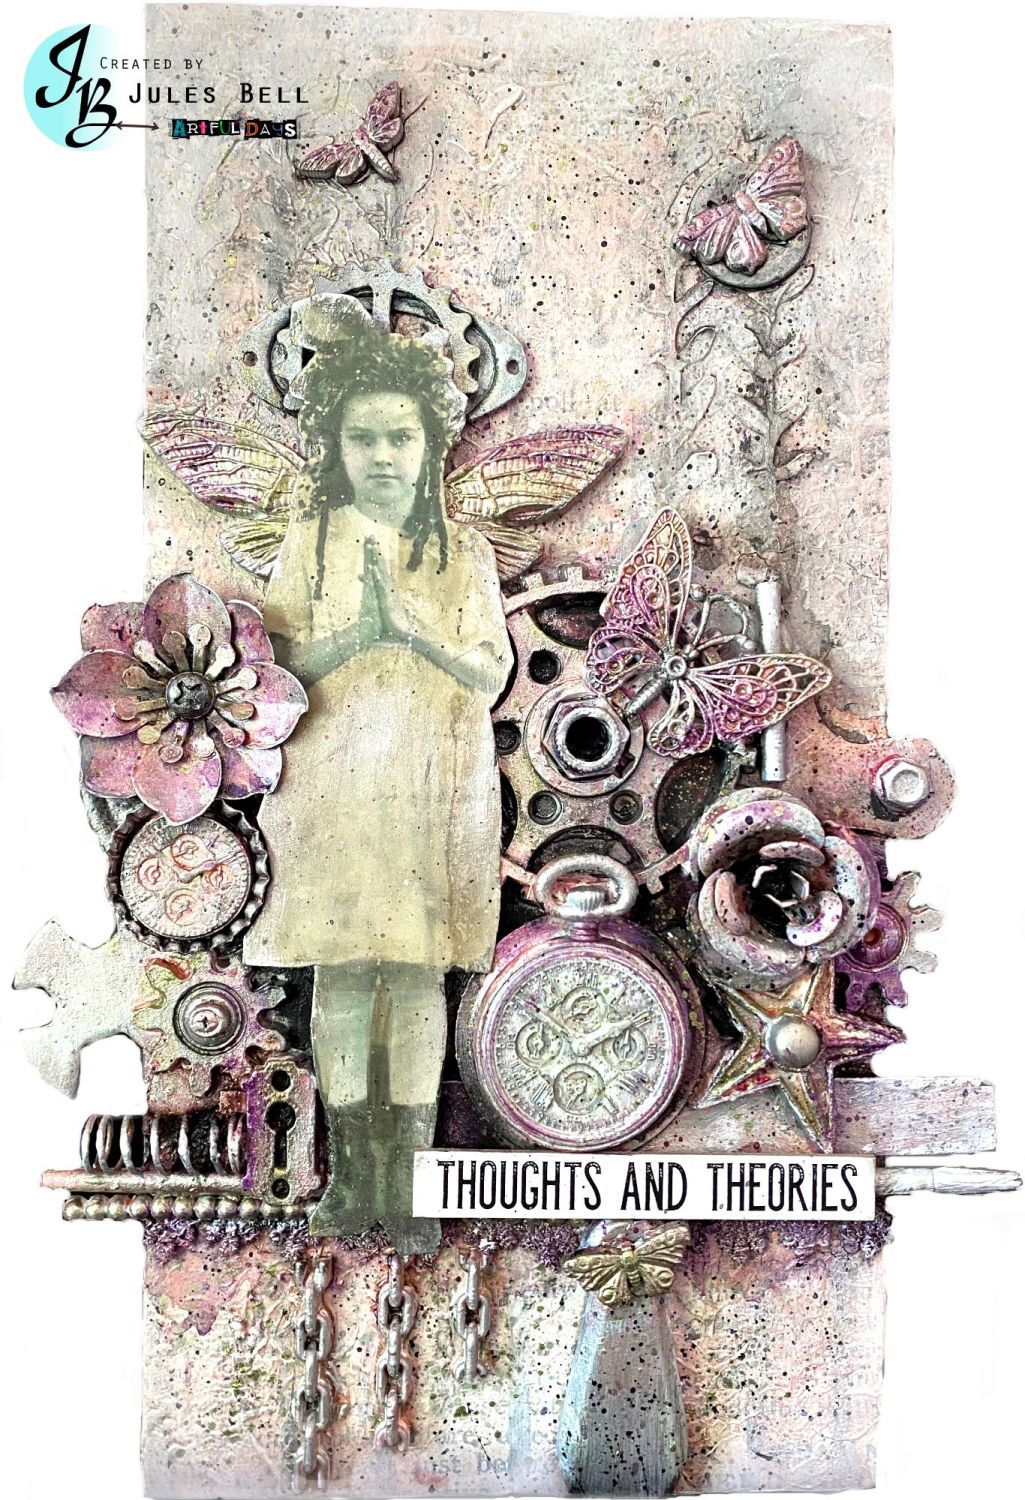
Hiya, Jules here with another post using the New Finnabair moulds, I pre-cast all of these from resin, that way you are always ready to start.Air dry clay can also be used.
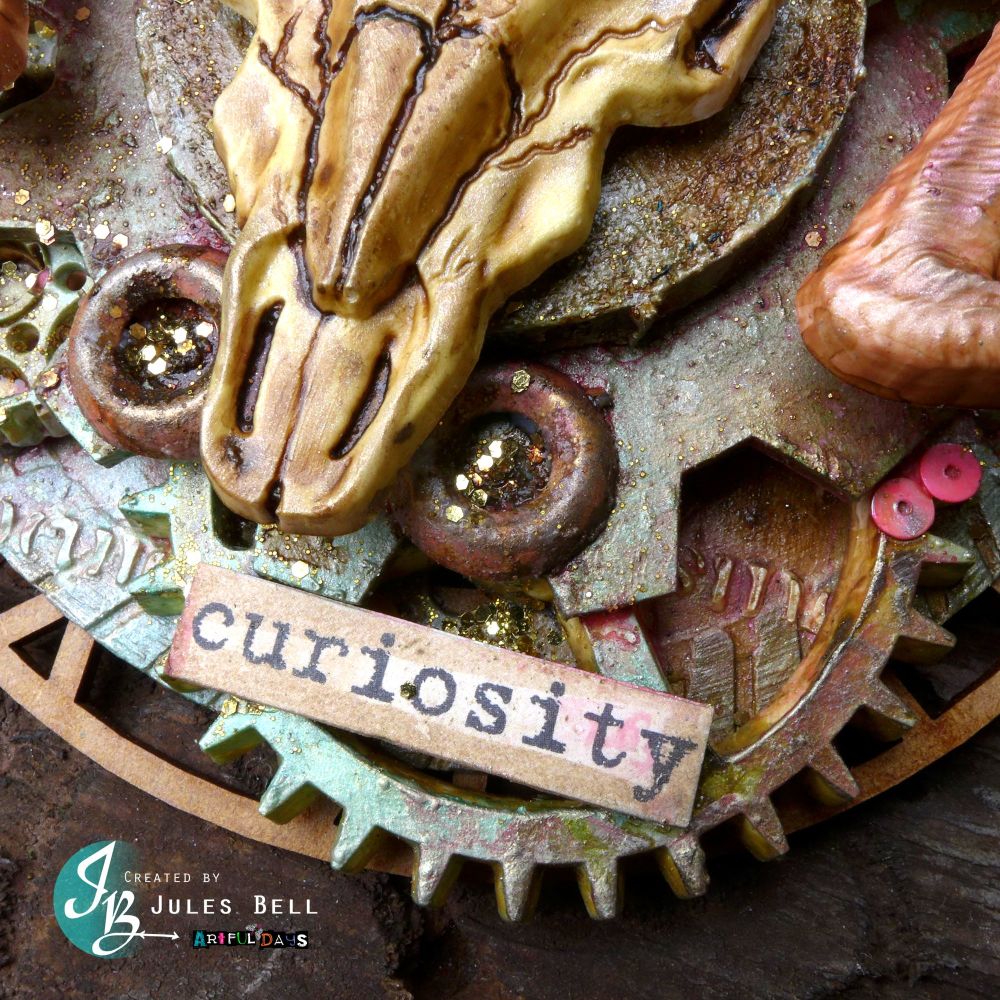
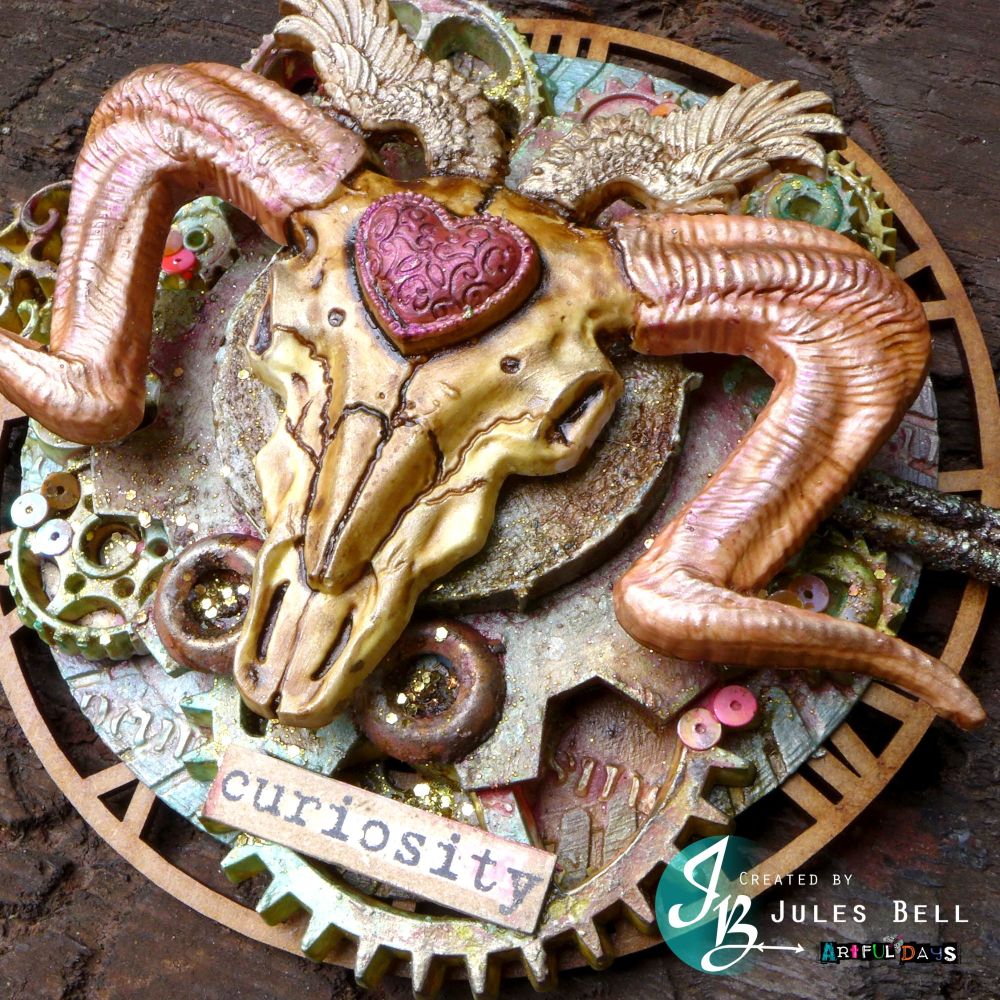
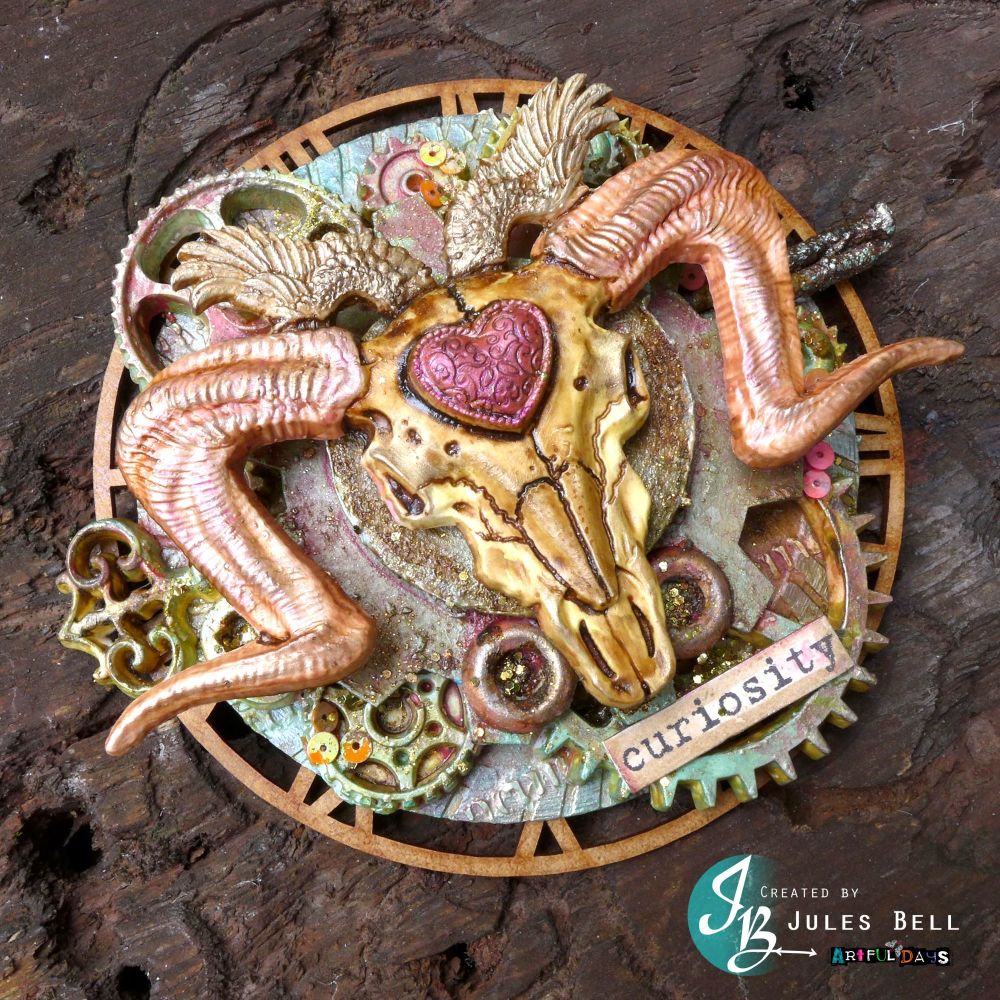
I started with the ram's head fom the Amun & Bast moulds & a blunt cutting disk I found at a car boot sale for the base - I later added my mdf roman clock to the base so it stood out more.
Stencil the base and start adding the varous cogs, keys & rusty nails. I alway use the heavy body gel for this, as it's very strong & reasonably fast drying (with a heat gun). Leave overnight if you prefer!
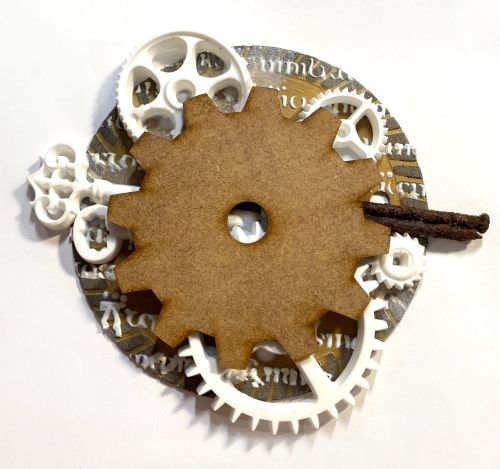
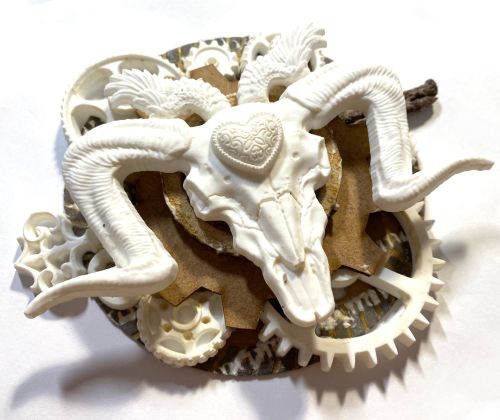
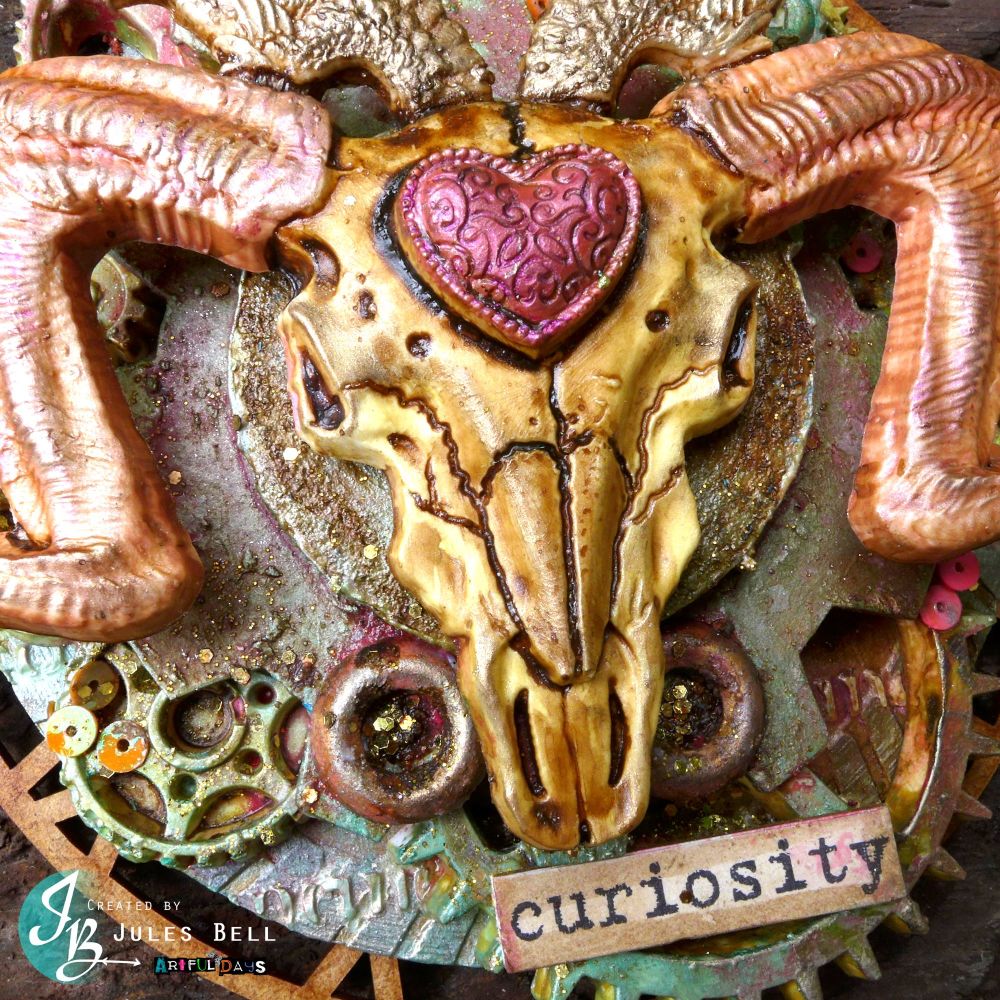
For more stability for the next layer of resin moulds, I added another cog and a wood slice to elevant the ram's head further. I very carefully attached the small wings to the top of its head and added the heart. I love that with these moulds you can mix & match to create all manor of things.
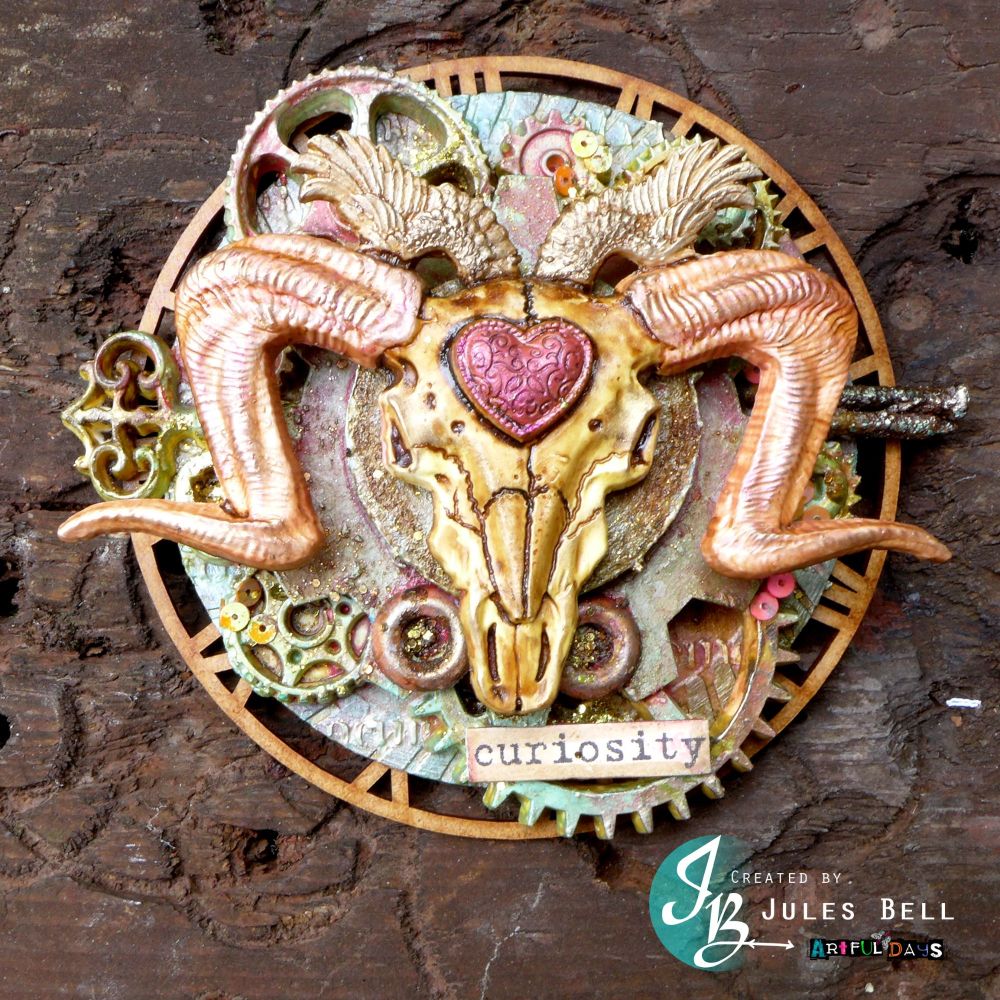
Next came the colours, as there's cracks in the skull I knew I wanted them to be darker in colour, so just mixed burnt sienna & water to flood those areas and let them dry. Use the green & pink mica's I "painted" all the elements and toned them down with a wash of the burnt sienna water mix. Once dry I embellished area's with glitter & sequins and finished with my fav white gold wax and sentiment.
Tip - try to balance elements, epecially when they stick out from the project. You don't need to use the same thing, for example for the sides I used resin keys and rusty nails.
For this project we used the following products
Moulds - Amun & Bast, Pieces of Underworld, Love Machine, Lock & Keys Mould
Mixed Media products - Prima White Gesso , Prima Heavy Body Gel, Prima-Art-Basics-Modeling-Paste, Prima Wax White Gold, Prima Liquid Arcylic Paint Burnt Sienna, Shimmering Mica Power Trio
Stencil - Prima-Finnabair-Stencil-Gothic
Own stash - Sequins & gold glitter
Thanks for reading, we hope this inspires you to create something simliar and don't forget you can share all your creations in our FB group
Artful Play Days
Enjoy Playing
Jules xx
